Creating & Assigning Marketing Tags
No video selected.Creating Marketing Tags
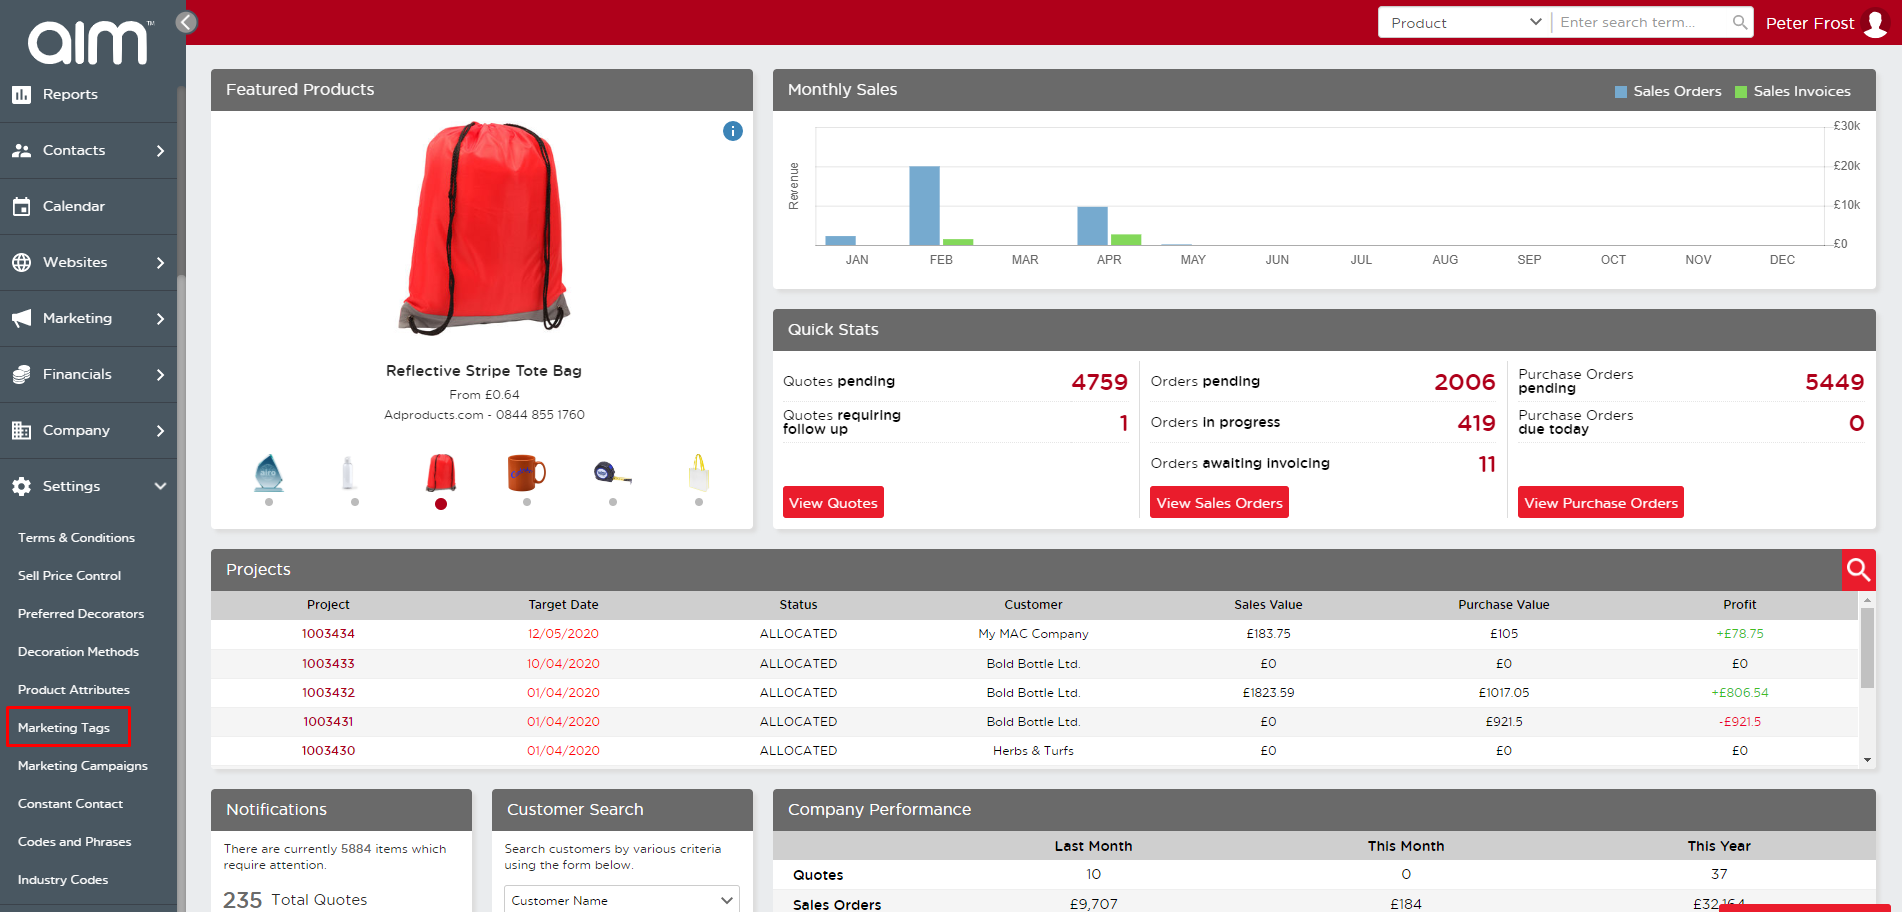
- In the AIM Tech Suite click on the Settings icon located on the bottom left of the dashboard.
- Select Marketing Tags from the dropdown which appears below Settings.
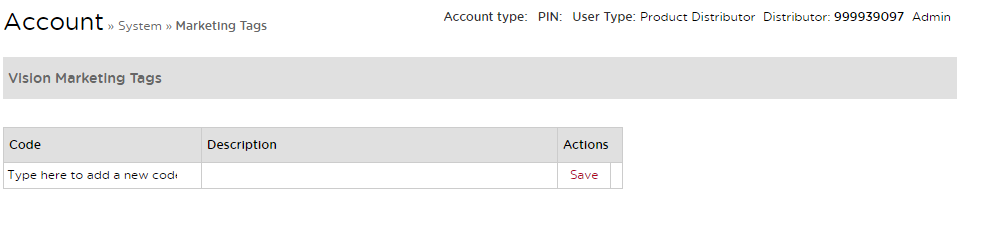
- You’ll be directed to the following screen where you can begin creating a marketing tab by typing in the Code box. Be sure to save once completed.
Assigning Marketing Tags
- In the AIM Tech Suite, click on Contacts and Customers.
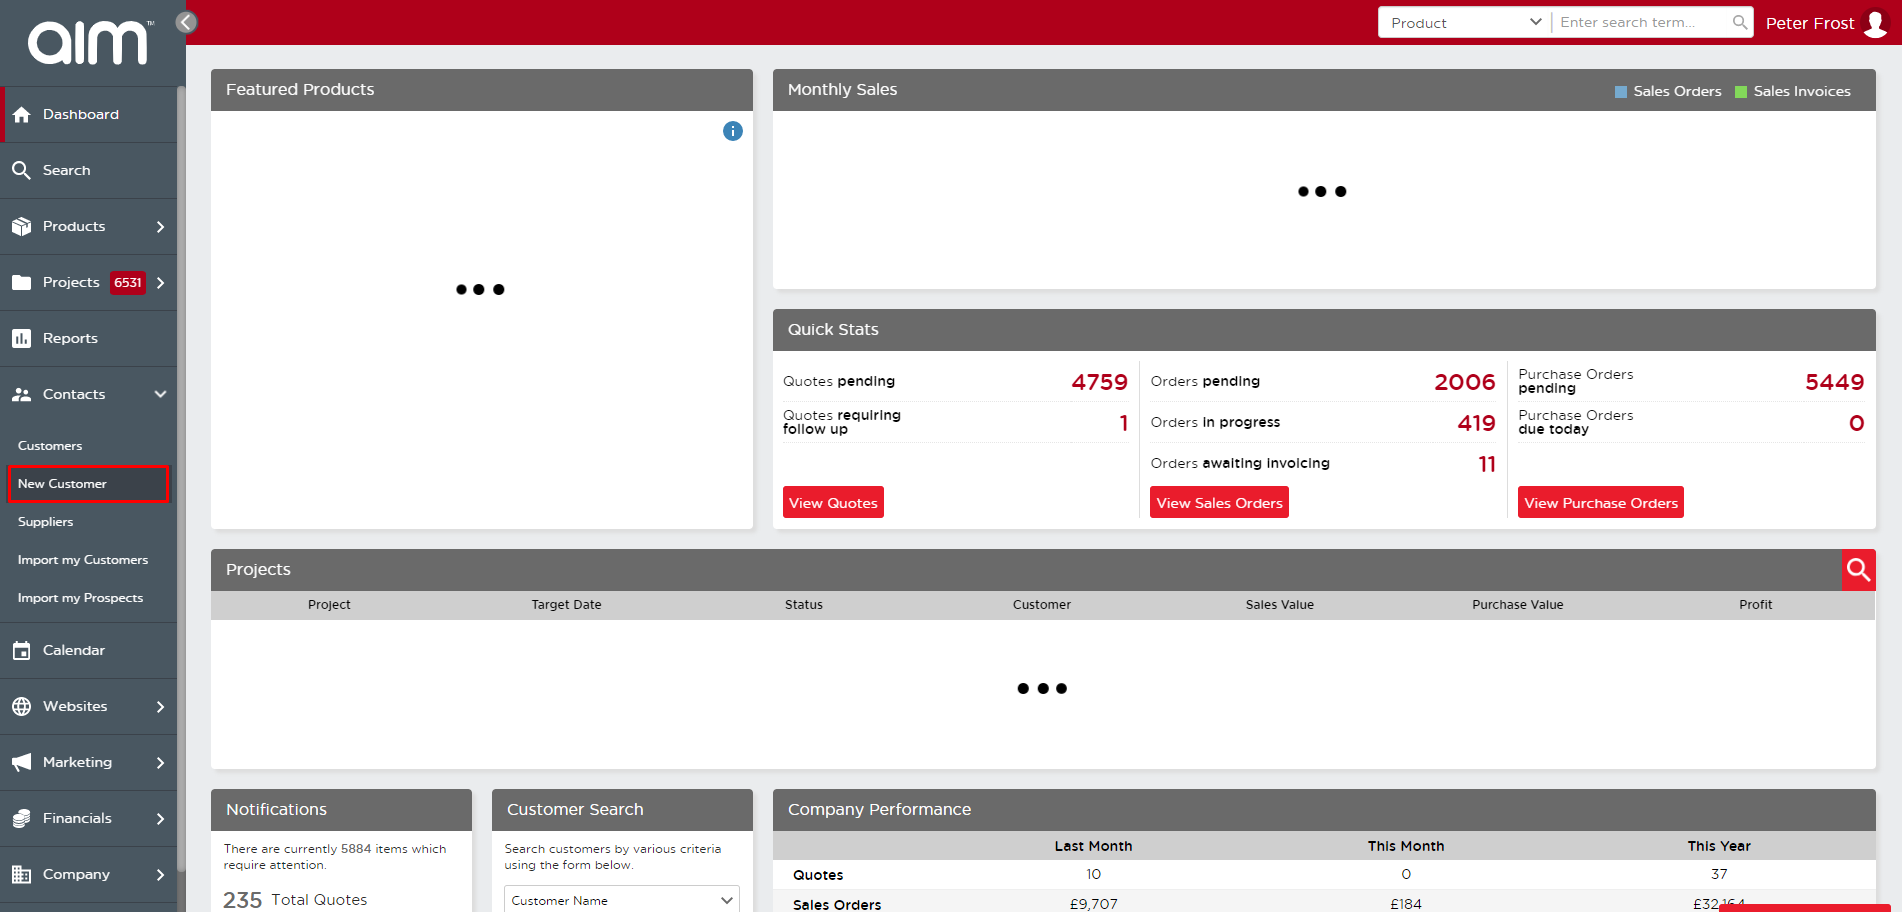
- You will be taken to the Customer Overview screen. Choose the customer whose marketing tags you wish to assign or edit. Click on the account number to be taken to edit the customer.

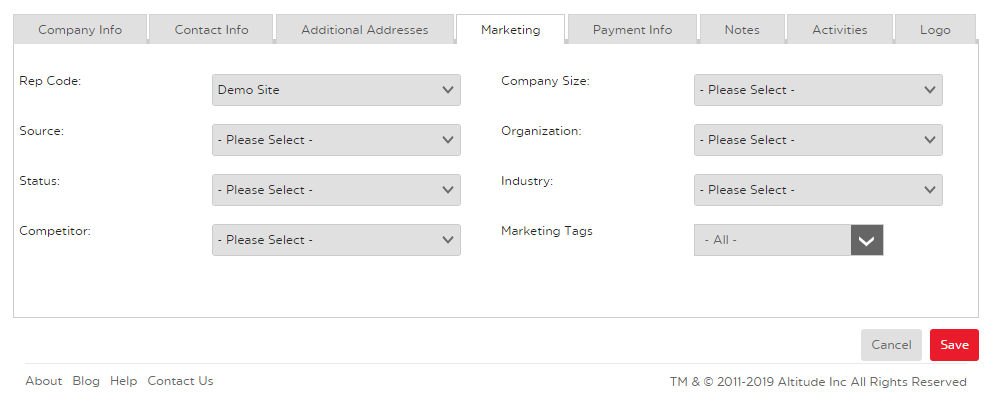
- Click the Marketing tab and use the Marketing Tags drop-down menu to select which marketing tags you would like to assign to this customer. Click Save when you are complete.
Last updated: June 12, 2020
![]() © 2022 AIM Smarter, Limited. All Rights Reserved. Company Reg No. 05225734 aimsmarter.co.uk
© 2022 AIM Smarter, Limited. All Rights Reserved. Company Reg No. 05225734 aimsmarter.co.uk