Changing User Permissions
No video selected.- In the AIM Tech Suite click on the Company icon located on the left on the dashboard.
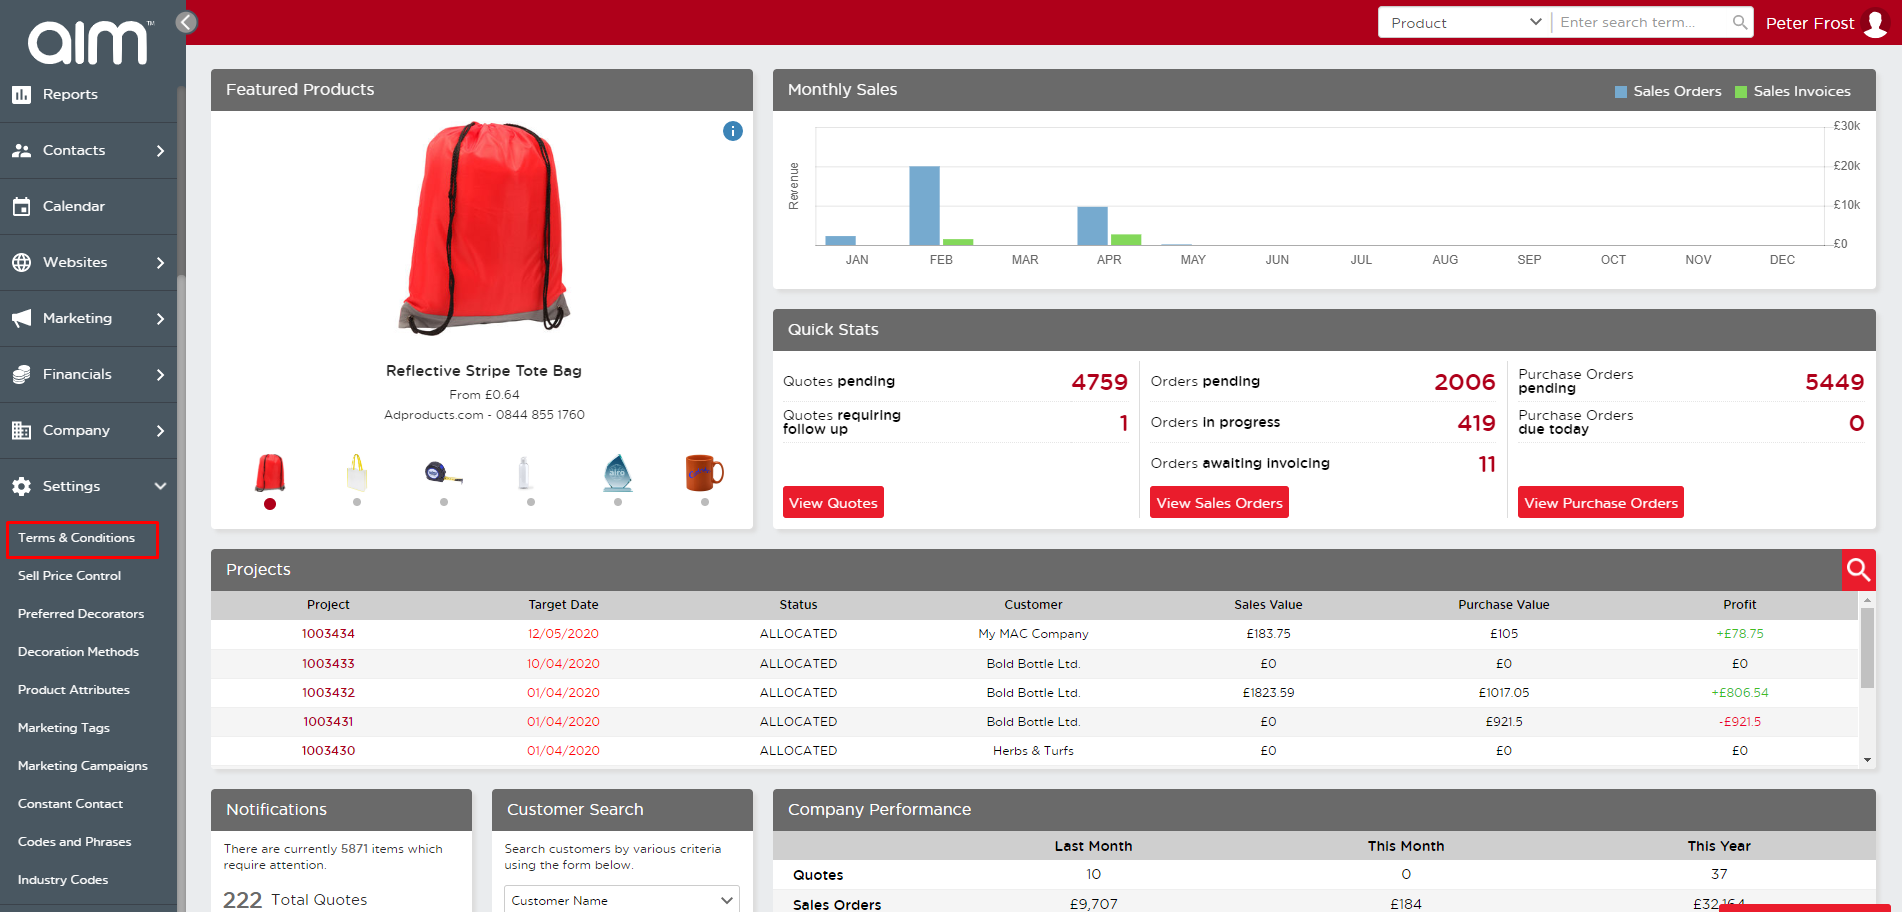
- Select Permissions from the drop-down which appears below Company.
- This will bring up the permissions menu which can be defined by 3 separate sections, namely:
- GROUPS: This section displays the various user types which exist within the Ultimate system. Click on each to view the designated permissions granted to that user type.
- PERMISSIONS: This section shows all the capabilities and functions designated to each group. Functions that are noted with a red cross for a user type cannot be performed by that group. Functions noted with a green tick marked against a user type can be performed by that group.
- MEMBERS: This section shows all the users who are registered on the system and shows which group they belong to with a green tick mark. If you would like to add them to a group, you may add
them to a group by selecting the add option displayed next to the user’s name. There is no need to save the changes made on this interface as it saves automatically to the system. - NOTE: If too many permissions are granted to a single user, simply add them to a group with less permissions than the group they were in previously to remove them from the wrong one.
Last updated: June 12, 2020
![]() © 2022 AIM Smarter, Limited. All Rights Reserved. Company Reg No. 05225734 aimsmarter.co.uk
© 2022 AIM Smarter, Limited. All Rights Reserved. Company Reg No. 05225734 aimsmarter.co.uk