Adding Banners
No video selected.
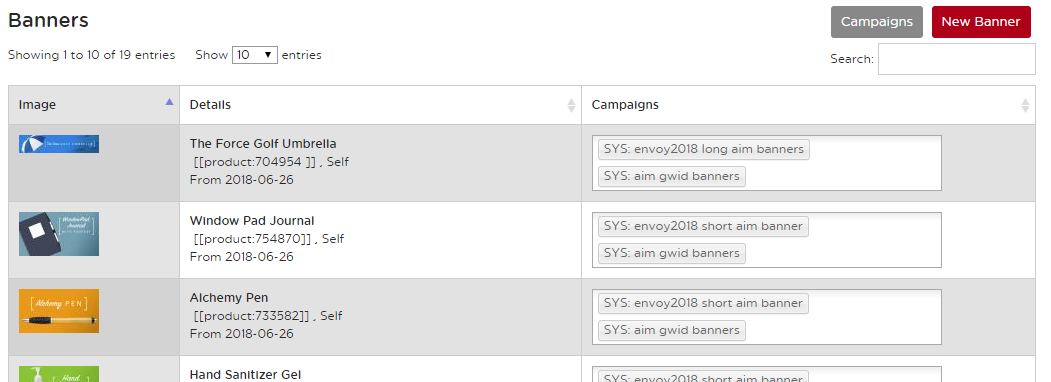
- From the management section of your website, hover over the Content tab and select Banners from the dropdown list.

- Select New Banner in the upper right hand corner.
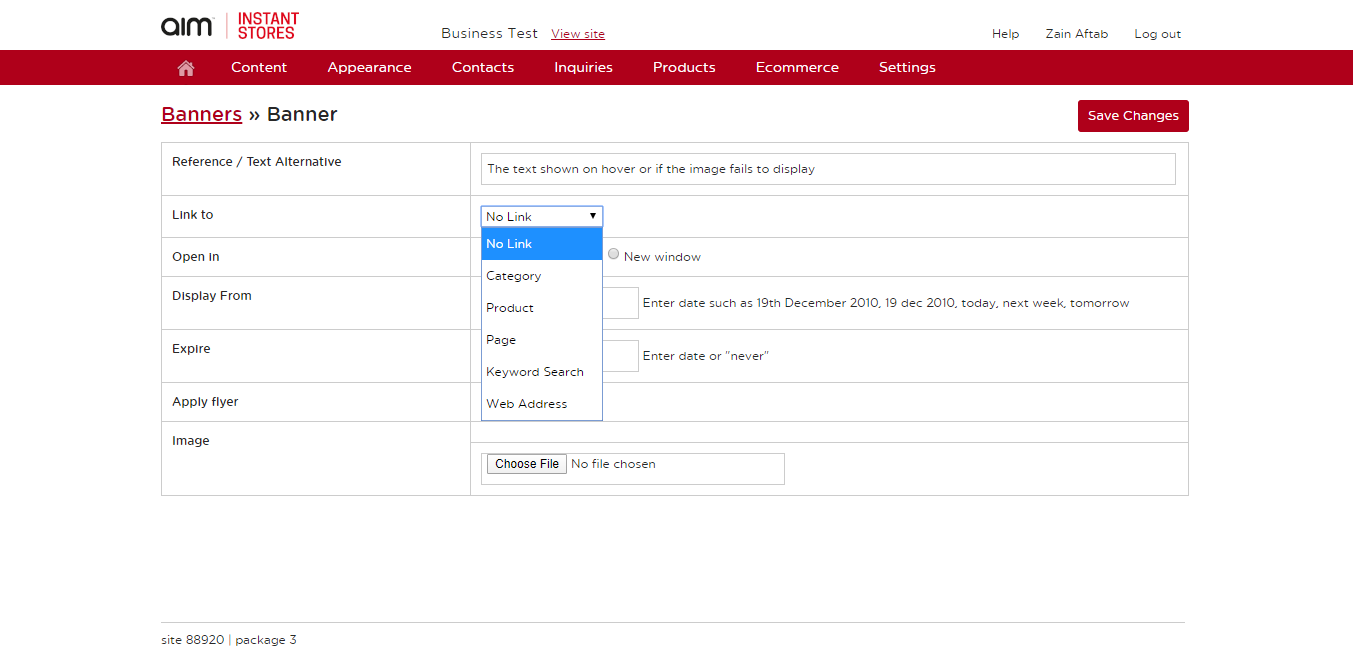
- Enter the banner name in the reference/text alternative box. You can also choose if you want the banner to link to a specific page, category, product, etc. and if you would like that to open in the same window or a new window. You can also choose the display from or expire date but this is not required.
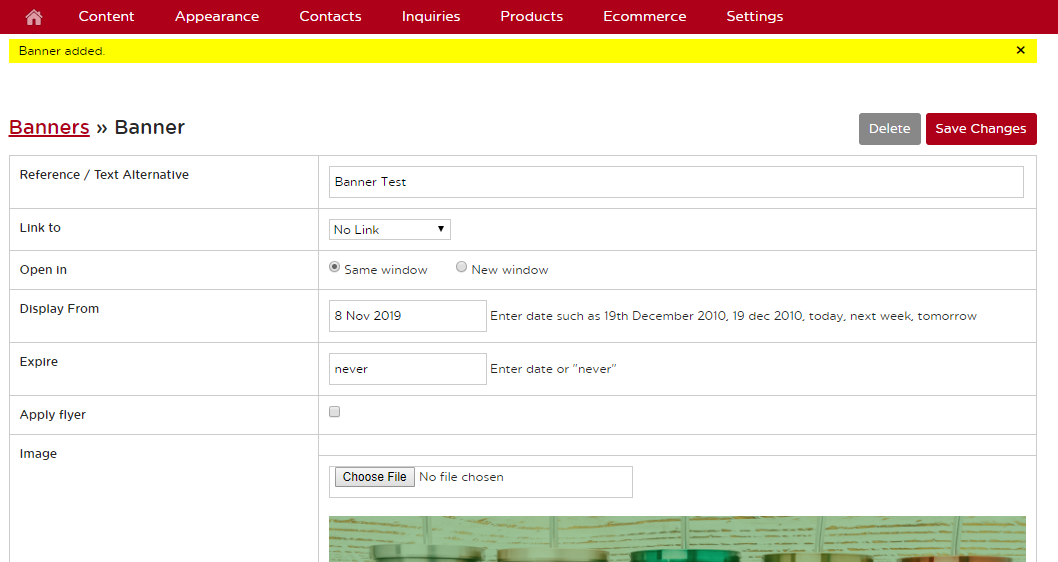
- Click Choose File to select the banner from your computer files. Once selected click Save Changes and you will get a success message that the banner has been added. You will then need to apply the banner to the home page.
- Hover over the Content tab and select Pages from the dropdown list.
- From the Pages screen, select Contents next to the home page.
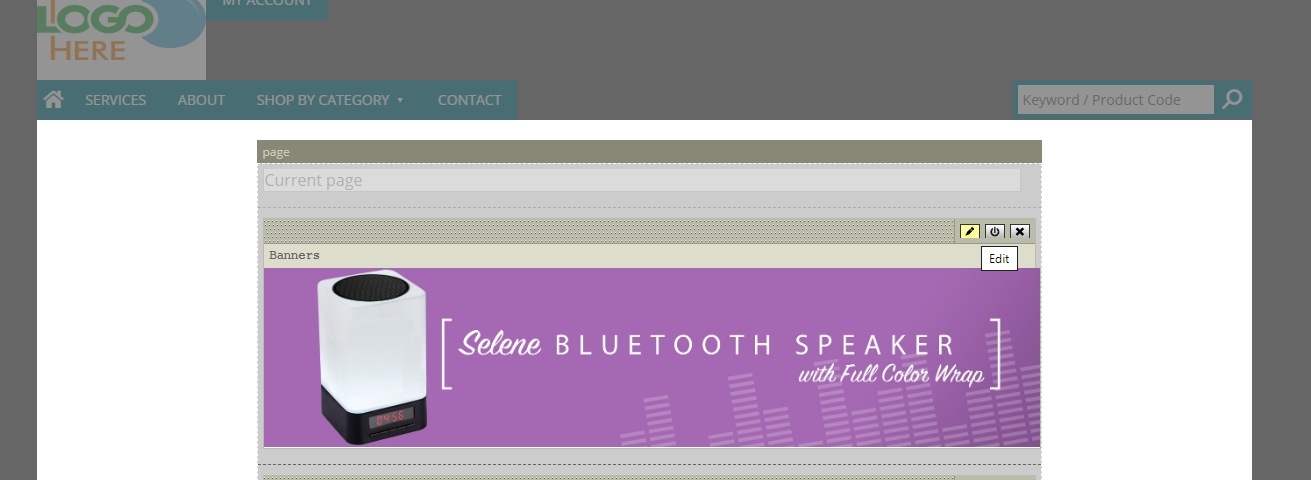
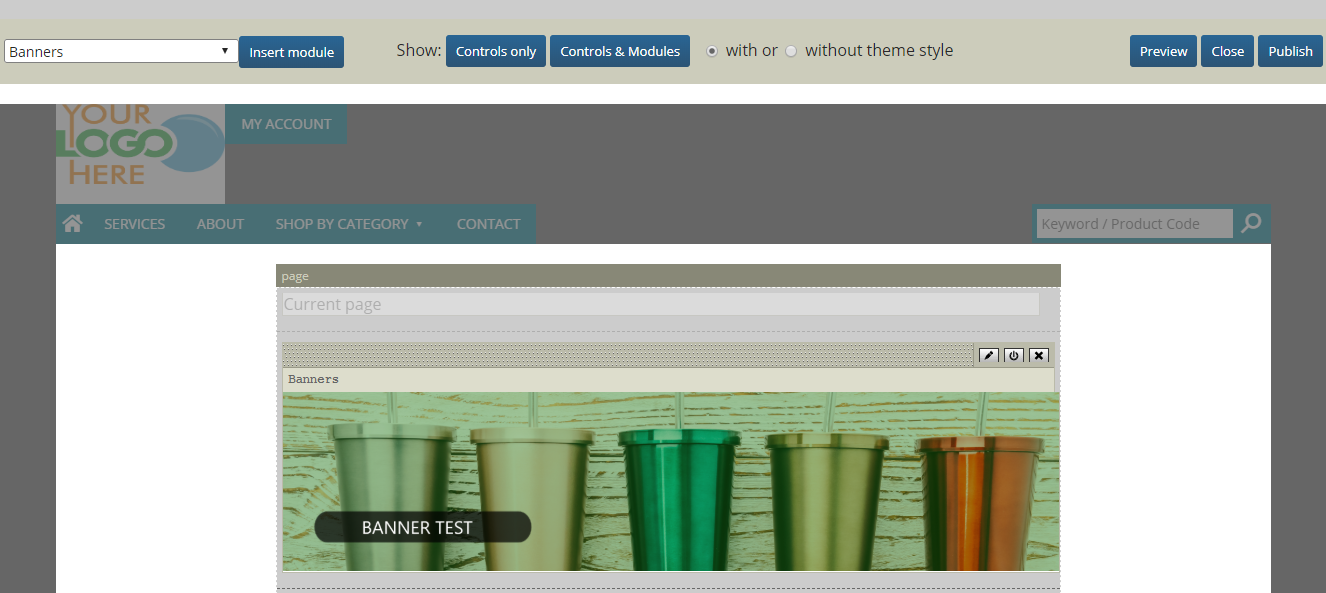
- To edit the banner module click on the pencil in the upper right hand corner. It will say Edit as you hover over it.
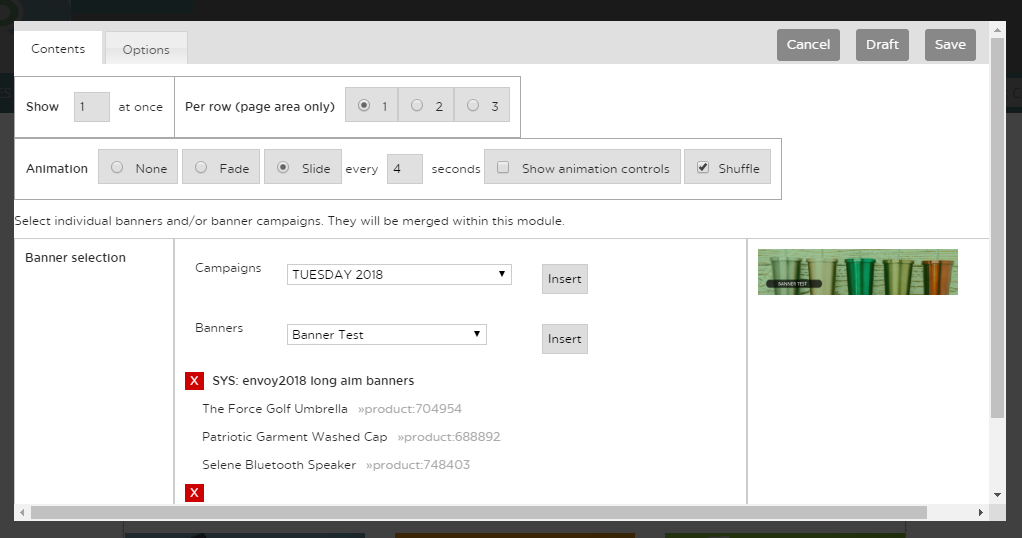
- Select your banner from the dropdown and click Insert. You may click the red X to remove any banners you do not wish to display. Another thing to note is if you wish to add multiple banners, you can choose the animation above, how often you would like it to rotate, and if you would like the banners to shuffle. Once complete, hit Save in the upper right hand corner of the module.
- You will then need to Publish the page so it is live. This can be done by clicking Publish in the upper right hand corner of the page. If you would like, you may use the Preview option to preview the page to see what it looks like on the site before making it live and publishing.
Last updated: June 12, 2020