Creating A New Product
No video selected.
- Navigate to New Product under the Products menu.

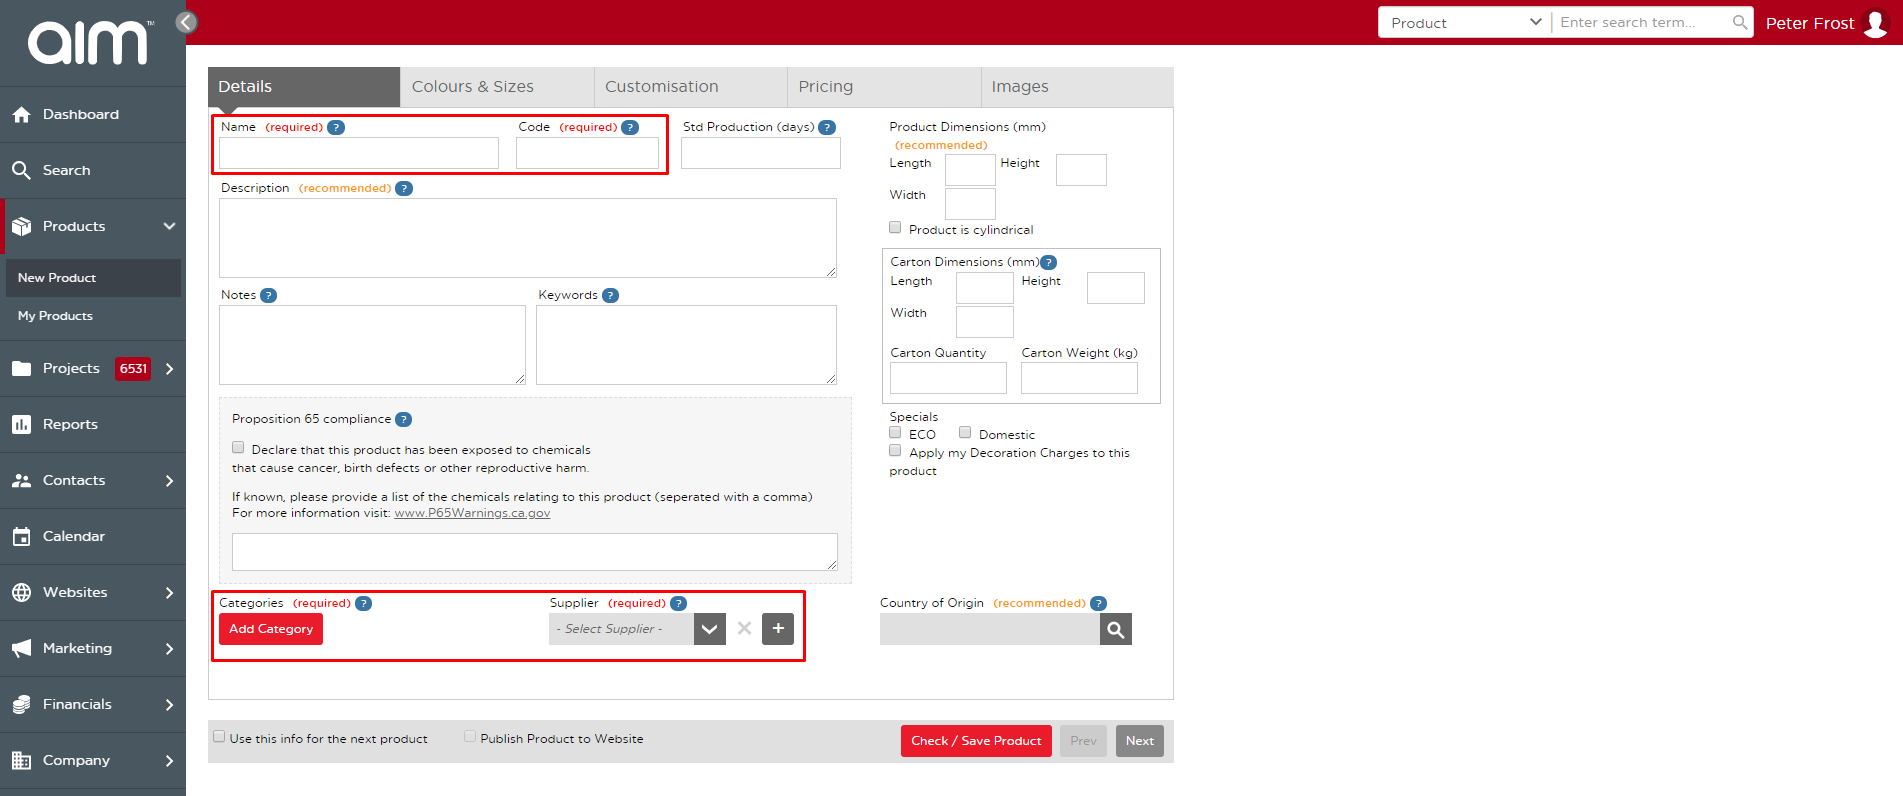
- Adding a product is broken down into five steps. The first is the “Details” tab which includes the most basic information about the product. Product Name, Supplier Code, Category, and Supplier are all required fields.

- The Colours and Sizes as well as the Customisation tabs are not required. However, they are important to complete so you have complete product information. All fields can be completed with the options listed on the page.

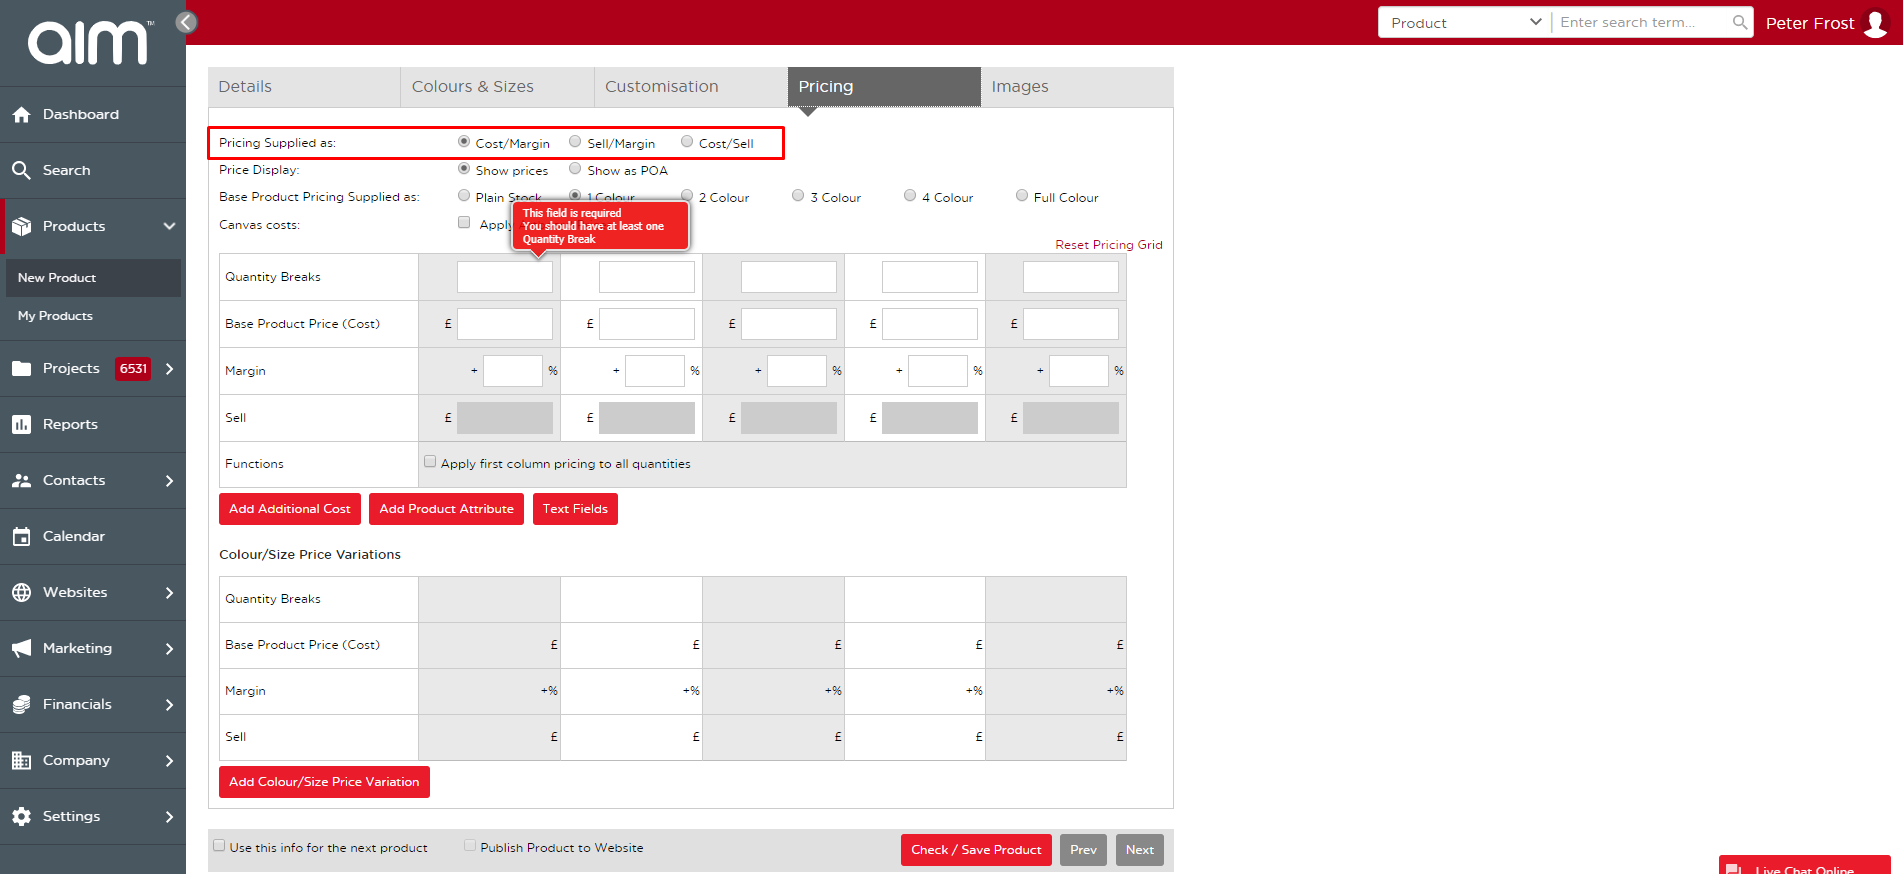
- For pricing, the quantity breaks should be defined and pricing input. It is important to note that you can choose how you enter the pricing at the top of the page. You will also see an option to add colour or size pricing variations. In order to add those variations, you must include colours and sizes on that second tab.

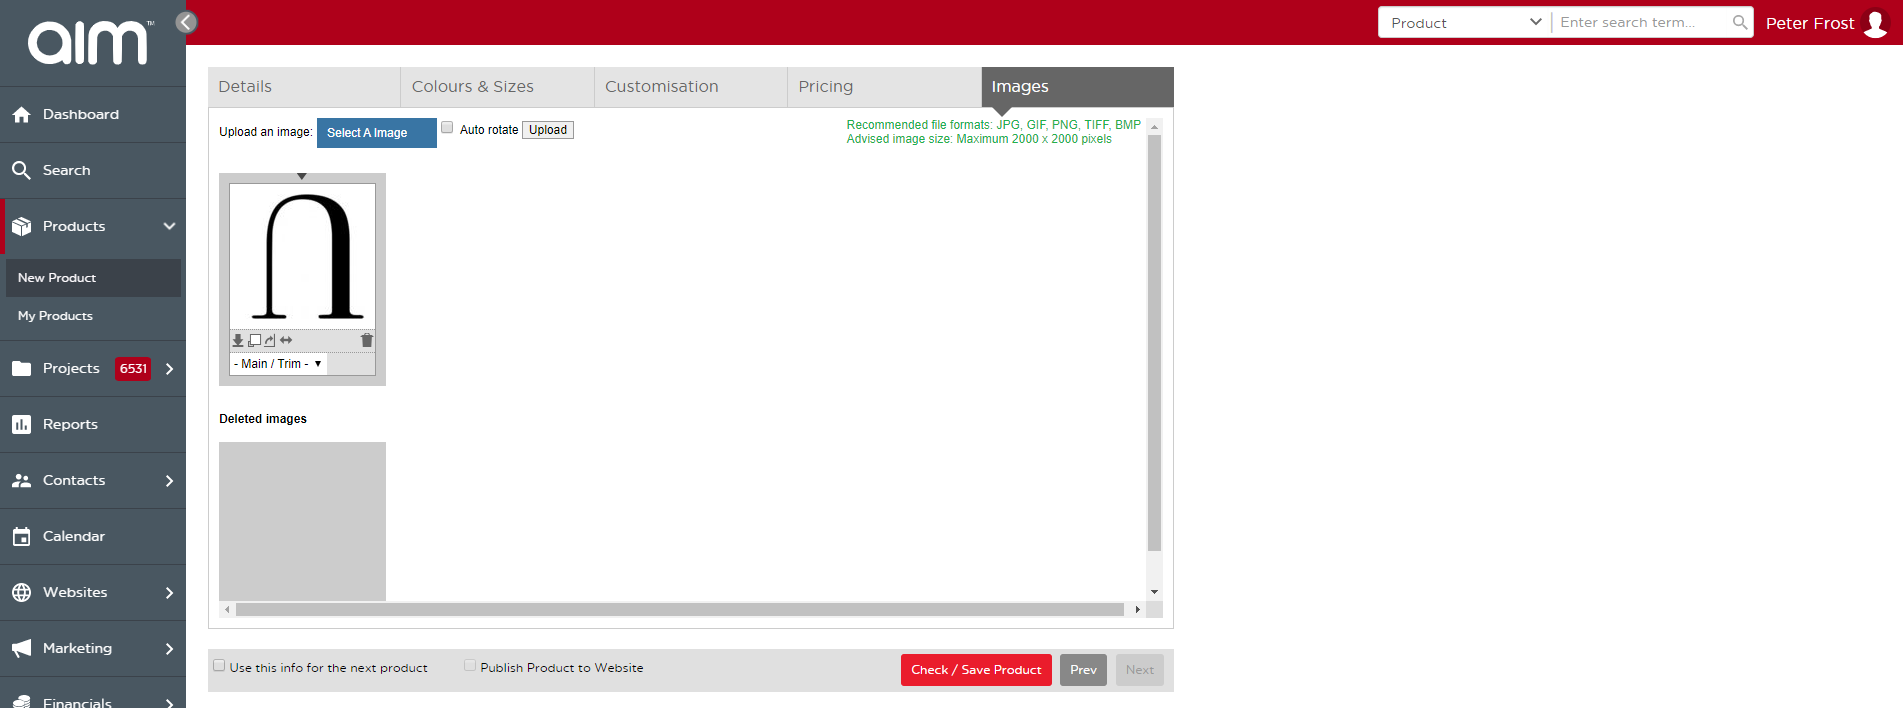
- For Images, you can upload as many images as you need from your computer. To remove an image, click the trash can button. You will see an option to add “Main/Trim” to each image which assigns it to a specific colour.

- Once all our product data is in, we can save the product! It is suggested to always check “Publish Product to Website” so you can easily find the product in your search.
There is also an option to “Use this info for the next product” which is a helpful tool when creating similar products. If you select that option and then click “Check/Save Product” you will see an option to “Add a Similar Product”. Select this to add another product using the same information you just input.
After you save the product, you will want to see the green message “Product has been saved and is live.” You can view the product now and add it to any order or website you need!

Last updated: June 12, 2020